Prepping for a Harsh Winter
Prepping for a Harsh Winter
After a fairly slow (in terms of farm work) November and December, January has been busy, busy, and it's only going to get busier!
CRAFTING PROJECTS
Christmas was delayed for our Bowling Green family when the kids came down with colds and my grandmother came down with COVID (after we just visited her for a Christmas party). The good news is that it gave me plenty of time to finish my gifts!
We made a cookie tin birdhouse for Nonni!
And I made Christmas place mats for Aaron and Emily. 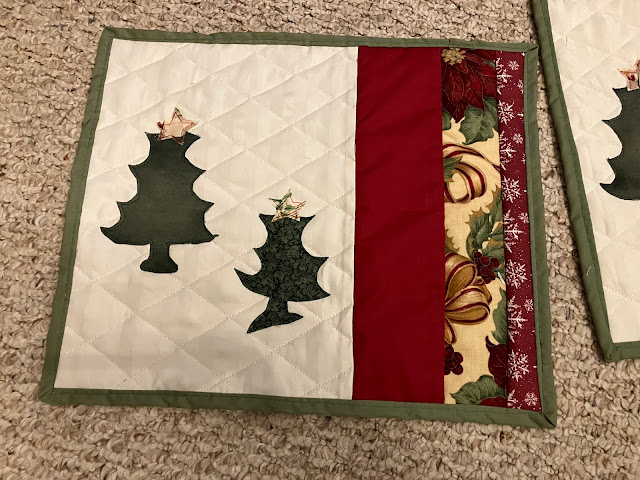
I already mentioned in the last post that I made about 20 (or more) of these. But since they were such a big hit, I decided to make a tutorial pattern to sell on Etsy. It's a fairly easy project that looks complicated but should only take a beginner sewer 1-2 hours. (Link to pattern).
My day-time Momma cloth patterns have been such a success on Etsy that I decided to put together and offer the night-time pattern as well. (Link to pattern).

HOUSE PROJECTS
While funds are tight we are chipping away at the projects we can do while we wait. Sam has worked hard to plug up holes and leaky spots in the house while we've had this super cold weather. (That didn't stop our den and laundry room from staying around 55*F during the latest freeze.) We've also been slowly, slowly, slowly working on getting the basement organized into totes that we can put on shelves. This will make projects in the future go by so much faster when we aren't having to search for tools. 
Sam also installed a dog door in the garage with a small fenced in area for the dogs to sleep so that they can go in and out as they please. This made it SO much easier for my parents to farm watch over the holidays so they weren't having to go to the house twice a day to let the dogs out or put them back in at night when the temperatures drop.
The kids were so very excited that it snowed more this year so they could sled. I don't think we got even one snow day last year. This year we had several.
After a fairly slow (in terms of farm work) November and December, January has been busy, busy, and it's only going to get busier!
CRAFTING PROJECTS
Christmas was delayed for our Bowling Green family when the kids came down with colds and my grandmother came down with COVID (after we just visited her for a Christmas party). The good news is that it gave me plenty of time to finish my gifts!
We made a cookie tin birdhouse for Nonni!

And I made Christmas place mats for Aaron and Emily.


The first day we went out, we sled in the front yard. Will Will sled right into the dried-up creek (despite us yelling at him to bail). He thought it was hilarious and did it again. 
Luke loved to go sledding, but he absolutely refused to walk in his snow suit. When the sleigh ride ended, he would just lay there until one of us went to get him.
He would lay there like a cute lump-on-a-log while we drug him back up the hill. 


They enjoyed it even more when we got to sleigh-ride with the rest of the family! While Rylee often ditched to build castles or snow balls, William just kept sledding and sledding and sledding. 
Pretty sure Pippa rode with Will Will so many times that she was sore the next day! 
In case you are curious, it is possible to make snow angels when you are pregnant, you just won't be able to get back up off the ground without help! (Also, my phone fell out of my pocket without me knowing and spent a few hours buried under the snow before Sam found it). 
Sam the snow-bearded Daddy!


I think the best time they had was definitely the pond skating, though! We waited for the coldest day and Sam checked the depth of the ice. Where we skated was 5-6 inches thick! Sam cleared off a large area for skating, and Pap Pap brought a metal chair. We all thought he was crazy at first, but the kids had A BLAST!  (PS. If you look close enough, you will see Fr. Edwin just baaaarrrrellly standing on the ice! He decided to brave it for a few minutes. )
My siblings weren't too keen on letting their kiddos out on the pond, but I guess I'm a little braver, haha. We made sure the kids stayed around an adult and then let them take turns going for a ride on the chair. 
I'll end with a cute picture of Luke falling asleep at the table after sledding in the snow!
FARM PROJECTS
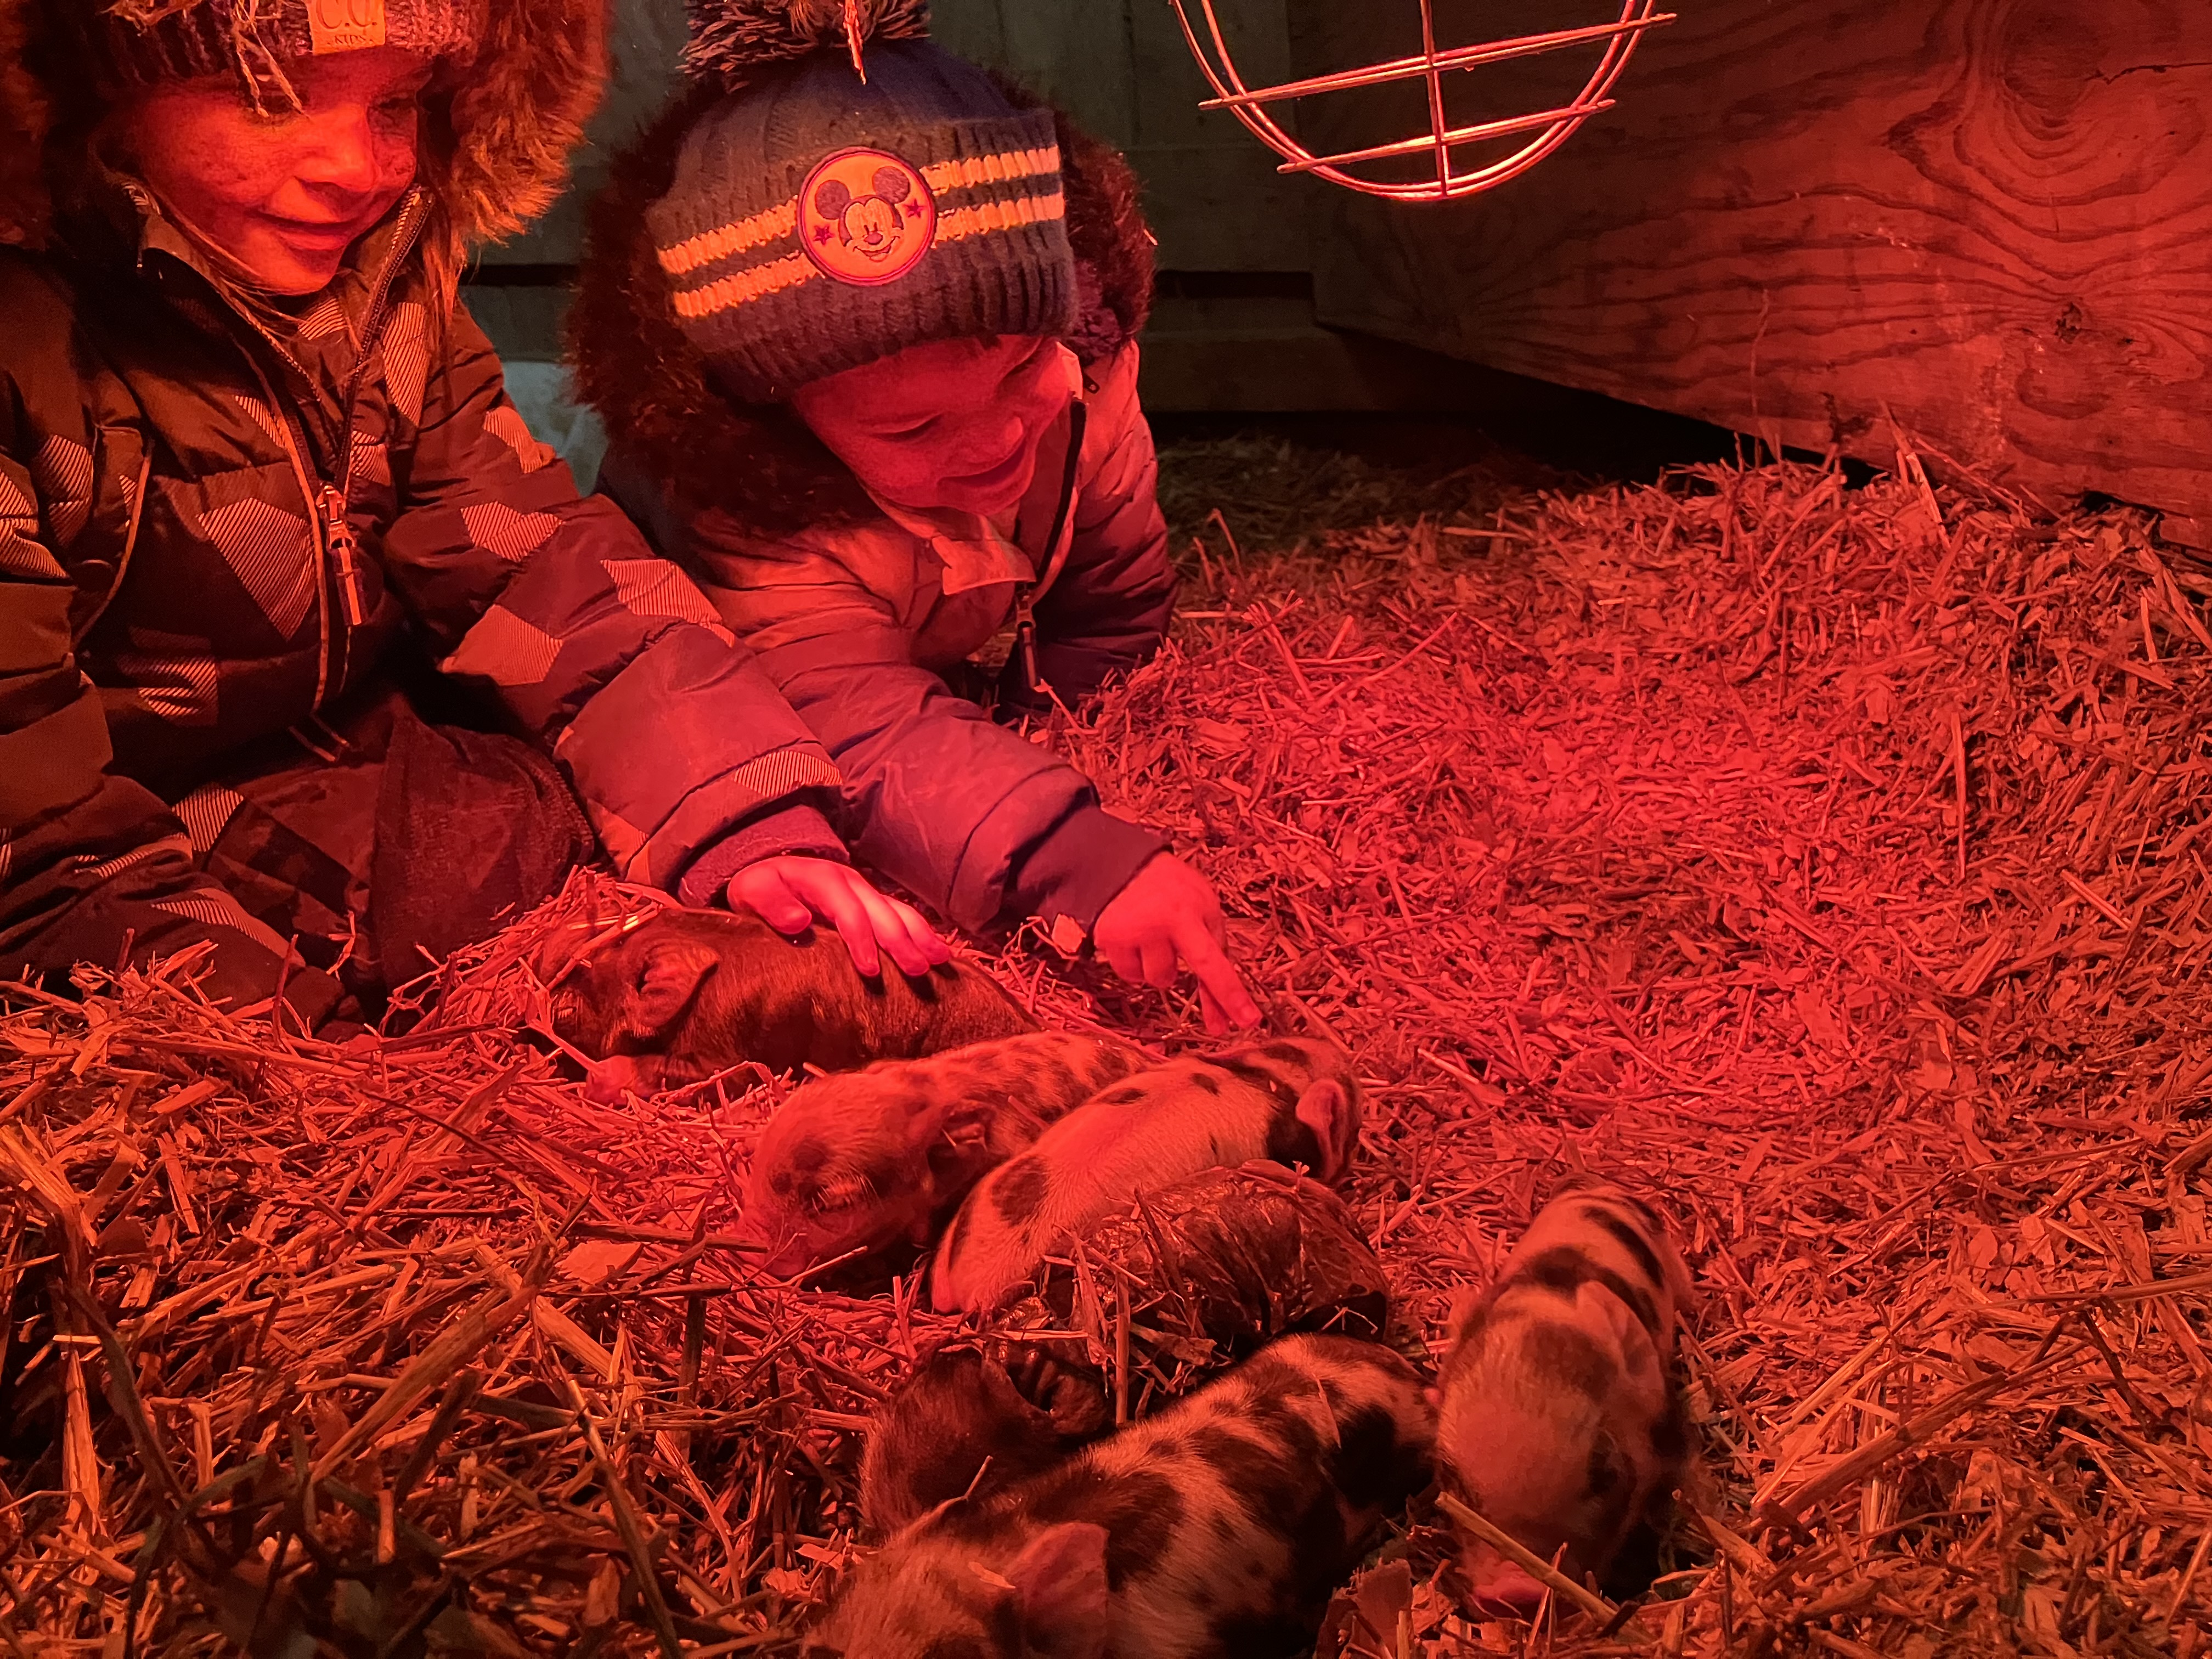
The first exciting thing was that Dandelion had her babies on New Year's Eve! She had six piglets and was such a good Momma! She didn't squish any of the babies, and they are growing like crazy.


They are finally off heat, and we were able to castrate the boys with no problems. Thank you, Lord. 
There are three boys and three girls. They will be ready to go on February 25, so if you know anyone that wants purebred Kune Kune's....
We've had a bit of a struggle with the main herd and Waffle. She's been in "time-out" in her own field for chasing and biting the pigs. The first cold night we had I felt bad and let her back with the herd so she would have access to the barn. That did not go well the next day when she was back to chasing and biting Moana. We decided to build a separate pig house and then block them off from the barn and give Waffle access so she could stay warm.

Luckily, we had a semi-warm day to get it done before we went to BG for Christmas and before the cold weather hit.

Sam moved our attempt at a Waffle-proof-pig-feeder closer to the barn, and we re-used the wood to make a pig shelter big enough for 9-10 pigs. 
It took a lot longer than we were expecting and although the older kids skipped nap, this one couldn't quite make it!
The kids had a great time "helping" Daddy by picking up/playing with scraps and bringing him boards. 
We used extra Advantec flooring we had stored outside to line the inside of the house, and then we used some of Grandma's metal roofing that she gave us to finish it off. We know she would be as excited as we are at how it turned out! 
The pigs have been stubbornly refusing to use it, preferring to sleep out in the mud under a tree during the warmer nights. But during the colder nights, they definitely all pile in together! The boys have their own house that they snuggle in at night, and don't worry....the piglets did fine in the snow, too!
We kept the barn door closed and just opened it this week to give the Momma some fresh air. The babies still haven't braved going outside and stay huddled under the brooder for the most part. Trying to get everyone water during the freeze was interesting for sure. 
Another really exciting thing we discovered was that not only was one of the ducks actually sleeping in the duck house (after months of them refusing), but that she had made a nest! Closer inspection revealed she had 12 duck eggs under her!! The extremely sad news is that she was sitting on them for much longer than we knew. We assumed she had just started when in reality, the ducklings hatched during the coldest weather. She hatched 11 of 13 and unfortunately, every. single. one. of the babies didn't make it. It broke my heart having to pull them all out of her coop. Poor Momma, she worked so hard.
One of the things Sam got for Christmas was a soil blocker! He wants to try a different way to start seedlings based on a farm that we follow on Youtube called The Seasonal Homestead. Their garden is inspirational, and 95% of what they eat comes from their farm or is locally sourced. Using their recipe, we made our own potting soil to start seedlings in!
Unfortunately, my ding-dong husband (you know I love you) left his new toys in Bowling Green, but he's been determined to 3D print a smaller version for us to start a few vegetables until we can get back to BG. Here's version one! Beautiful but it didn't come apart once we fit it together, haha. 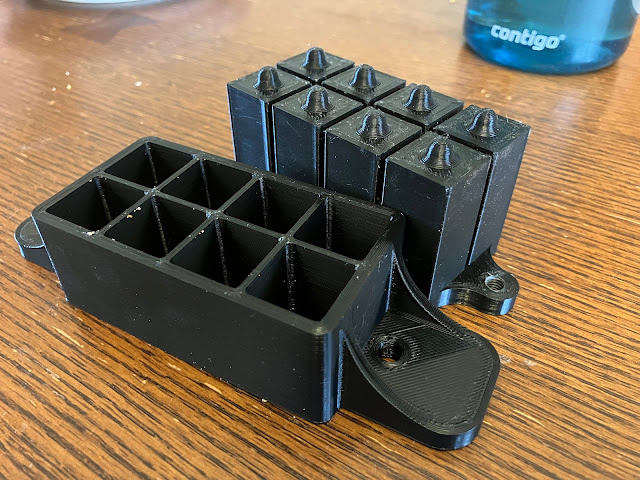
Sam finalized version two last night and now, we are just waiting for him to have enough time to hook it up to the 3D printer! 
Lastly (as if all of that isn't enough), it's Maple Syrup season! Mom and I started our business venture tapping trees and collecting sap. We like our set-up this year so much better than last year! The taps look like great quality, and they are much smaller. 
Pippa also bought a drill-bit that is specifically for tapping, and we are using bags instead of buckets to keep rain out! Last week was the first week, and although the rain put us a little behind tapping everyone's trees, we had really good sap flow from several of the trees.

Sam and I put together this evaporator based on this Youtube Tutorial using extra cinderblocks we had from when we had to rebuild the basement wall (thank you, Holy Spirit!).
Then Mom, Ant Trase, (sometimes Sam when he wasn't babysitting), and I spent all of Saturday prepping and then boiling. Our wood was wet, the fire wouldn't start, we were rained on, thundered on, and we had problems getting the sap to boil not only outside but also once we moved it to the stove inside.
Super big shout-out to my brother who randomly showed up with his farm boots on and spent over an hour helping us to build the fire up! Overall, we had a pretty sweet set-up, even if we were worried about melting the pop-up canopy. You could definitely tell it was working because the steam from the boiler was condensing on the pop-up canopy and dripping back down on us! We even ordered pizza for dinner!


Eventually, we moved everything inside (only a few degrees early), spent about an hour getting it to boil and then another hour finishing it. At 1AM, here was our prize! Over a pint of maple syrup! (In case you have ever wondered why it cost so much in the store, we don't wonder that anymore. It's probably 10x harder for smaller producers like us, too!). 
10 gallons peat moss (sifted to remove large pieces; bought from Lowes)1/2 cup pulverized garden lime (bought from Lowes)1/2 cup blood meal (bought from Lowes)1/2 cup bone meal (bought from Lowes)1 cup green sand (bought from Amazon)5 gallons of organic perlite (bought from Home Depot)5 gallons of compost (sifted to remove large pieces).
Thoroughly mix it all together and store in a tote with the lid partially open so you don't trap the moisture in and cause it to mold.
How to boil down Maple Syrup
1. Pour sap through filter into the two pans. Fill up the warmer pan (farthest from chimney) more than the boiling pan. Once boiling pan starts to boil, use a ladle to move sap over from the warming pan, being careful not to kill your boil. Use a small sifter to scoop the foam off the top of the boiling pan (the impurities) and continue this process until you have no more sap left in your buckets or in your warming pan.
2. Make sure to immediately put water in your warming pan once it's empty so you don't scorch the pan.
3. When the boiling sap temperature reaches 214*F, remove from heat and filter, making sure not to squish the bottom of the filter. .
4. Return the sap to heat and continue cooking until the temperature reaches 219*F. Immediately remove from heat, filter through a finer filter, making sure not to squish the bottom of the filter.
5. Verify the temperature is about 180*F (return to heat if it's too cold) and bottle!


Another really exciting thing we discovered was that not only was one of the ducks actually sleeping in the duck house (after months of them refusing), but that she had made a nest! Closer inspection revealed she had 12 duck eggs under her!!


Lastly (as if all of that isn't enough), it's Maple Syrup season! Mom and I started our business venture tapping trees and collecting sap. We like our set-up this year so much better than last year! The taps look like great quality, and they are much smaller.
Pippa also bought a drill-bit that is specifically for tapping, and we are using bags instead of buckets to keep rain out! Last week was the first week, and although the rain put us a little behind tapping everyone's trees, we had really good sap flow from several of the trees.


Comments
Post a Comment